Sunday, September 28, 2014

Blog Hop - Julie Nutting Doll Stamps

This is my very first blog hop which was organized by Scrapbook Cafe Online.  The task - to use any of the Julie Nutting Doll Stamps.  I love these stamps and have several of them.  For this task I chose the Chiara.


Since I love scrapping for my Disney trips I chose to make an embellishment for a future Disney page.  I selected to use several patterned papers from the Simple Stories Say Cheese 6 x 6 paper pad to accessorize my stamp.


Other tools I used included my Stampin' Up Basic Black ink, and My Close to My Heart Basic Colors Watercolor Pencils and Blender Pen.


I started by stamping the image on a plain white cardstock from my stash. 


After stamping the image I colored the doll skin with the CTMH Sorbet pencil and the hair with the CTMH Sunflower pencil.  I used the blender pen to soften the coloring.

I then stamped the dress portion of the stamp on the red dot paper and the sash portion on to the the black striped paper (both papers from the Say Cheese paper pad).


A lot of fussy cutting followed as I cut around all of the small scallops of all the stamped images. 

When the cutting was done, it was time to glue everything together.  I used a Co-ordinations brown card stock as the base and selected a "Magic" sheet as the background to my image. 


The final touches were using Christmas Red Stickles on the head band and Silver Stickles to highlight the dots on "Magic".

The final product:


I encourage you to visit the other stops on the Blog Hop!

Stop 2 - A Pirates Life Crafts (that's me)
Stop 4 - Papierkowo

Thanks for checking out my very first blog hop!  I hope to do it again soon!


*Credit to Cayla Gaudet for a recent Make-n-take that showed the stamping on multiple pages and fussy cutting an outfit technique with the Julie Nutting Doll Stamps. 


Tuesday, September 16, 2014

Keepsakes in the Scrapbook - Using Disney Photopass Photo Folders

I keep EVERYTHING when we travel - room keys, brochures, certain wrapping and packaging, and much more with the plan that I will use it, right?  Sometimes I do and sometimes I end up with a box of "stuff" when the scrapbook is done.

I have decided to do my current scrapbook using pocket scrapbook pages so when it came time to scrapbook our Princess Dinner at Akershus Royal Dining Hall I wanted to use the Photo Folder that the Photo Keepsake came in as part of the page.  I decided to cut it into 6 x 6 and 4 x 6 cards to slip into the pockets. I am very pleased with the result.


For example purposes I have photos of this year's Akershus Photo Keepsake Photo Folder.  It is not the same as the one I used, but I did not think to take photos of the 2010 version before cutting it. 


Here is the pocket scrapbook two page spread I did using the 2010 Photo Keepsake Folder:


The top left 6 x 6 pocket is cut from the cover of the folder:


The princess charms are actually a keychain I purchased off of eBay.  The Princess velum is from my stash, not sure where I got it from, and it is backed by navy cardstock. 


The lower half of the left side has the remainder of the eBay keychain - the princess charms were dangling from this crown.  The Akershus journal card was a printable from Pixie Sprite's Photobucket.  She has a ton of fantastic printable Disney Pocket Cards.


The bottom right 4 x 6 pocket has the back of the 2010 Photo Keepsake Folder.  


For the second page I used the inside cover of the 2010 Keepsake Folder.  I cold not cut it smaller than 6 x 8 without losing some of the art. I decided to use it to fill two 4 x 6 pockets. 


Another eBay purchase is the castle charm I used on the photo of DD dancing. 


Finally, the bottom of the back cover was used for the last pocket of the page. 


 ~Happy Crafting~

Monday, September 15, 2014

Challenge Time with Prairie Paper Haven - Using the "I Heart Fall" Collection

Jodie from Prairie Paper Haven sent me a package of wonderful treats to do a project with. The goodies included the Echo Park 12 x 12 Collection Kit "I Heart Fall" and some wonderful coordinating cardstock from the BoBunny Double Dot collection of textured cardstock.


The challenge was a tough one as I really do not scrapbook with the colors and since most of my projects are vacation oriented, fall is not a season I tend to scrapbook either.  But, challenge accepted as I attempted two projects from these items.

I was inspired by a recent Facebook post I saw by my friend Carlye to create one of the very cool Tri-Fold cards that are so popular right now.  Then at an event on Saturday, my wonderful friend Kerry brought the instructions and got my butt in gear to try one myself.  Thank you Kerry!!!

I decided to make my parents a Thanksgiving Thank You Card.


Kerry got the instructions from the procrastistamper blog

The premise is simple the only thing we struggled with was ensuring our scored lines were in the right places and then ensuring we had folded them in the correct manner. 

I used the Bo Bunny Double Dot Brown cardstock as my base.  The dots and apple papers were in the Echo Park "I heart Fall" collection. 

I inked the edges of the dot paper with my Close to My Heart Chocolate Distressing ink.  I love distressing inks as they always seem to make things "pop" a little more. 


The Cream DarJeeling Teastained Dahlia Flowers and Reversible Black and Orange Satin Ribbon were also provided in Jodie's box of goodies and are available at Prairie Paper Haven. 

"Happy Thanksgiving", the Apple Crate and Leaves were cardstock stickers that were included in the Echo Park "I Heart Fall" Collection. To add some depth, I used the 3D Foam Squares on the Apple Crate. 

The "Thank You" was stamped on cream cardstock from my stash (OK it was from Kerry's stash) using the Stampin' Up Four You Clear Stamp Set.  


I am thrilled with how the card turned out and cannot wait to deliver it to my parents. 


I wanted to challenge myself to use the products in my everyday scrapbooking as well. Like I said earlier this was hard since I tend to scrapbook travel and not fall or thanksgiving.  I am currently working on a Disney Cruise/Disney World Vacation Scrapbook.  I am doing it using Pocket Scrapbook Pages (which is another challenge, but so far it has been fun). 

So I stared at this paper wondering "How am I going to use it?"  Then it hit me.... Apples = Snow White!!  And I had the perfect event for the page. 


While we were on our first cruise DD was selected to assist Snow White and Dopey on stage.  (You see only Snow White and Dopey made it through customs, the other dwarfs had some problems.)

The top right 4 x 6 pockets use the tree background from the "I Heart Fall" collection.  I then cut a strip of the apple paper ("I heart Fall") and used some red Stickles on the solid apples for some bling.  Dopey is a 3D Sticker from EK Success and the dots paper behind him is also from the "I Heart Fall" collection. I am not sure where I got the "Theater" Marquis Sticker, but I had saved it for this page and it worked perfectly. The photo is matted in red cardstock from my stash. 


The apple at the bottom of the page was the "Apple Cider" piece from the "I heart Fall" collection, however the 3 x 4 piece was portrait oriented instead of landscape which is what I needed for my pocket. 


I cut the bottom off of the apple and then mounted it to a 3 x 4 landscape dot piece. I chose to use some Stickles on the leaves on the apple again to add some bling.  I used some cream cardstock from my journaling. 

To finish the page I used some pocket cards from the Me and My Big Ideas Glitter and Foil Specialty Cards "Happiness Is This" Collection.  Both the red foil 4 x 6 and the red glitter 3 x 4 complimented the page perfectly. 

~Happy Crafting~

Thursday, September 11, 2014

Pretty as a Princess - Elsa Costume

This will be my first crossover post- a post which I will be posting on both of my blogs.  I do not plan to do this a lot, but there are certain times it seems fitting and Costumes for Disney is the perfect time.

There are plenty of opportunities to buy costumes and princess dresses at Disney, but the feedback on them is not always positive and let's face it they are expensive. We bought DD a dress the first time we did Bibbidi Bobbidi Boutique and while I am happy we did it, it is certainly not something we can do every trip.  So I have started crafting my own.

I say "crafting" because sometimes these creations are upcycles and sometimes they are made from scratch.  I have taken a new shine to Thrift stores and the treasures within.  I am working on several costumes for the upcoming holiday (Halloween) which all started with DD wanting to be Elsa for our recent trip to Walt Disney World.

Elsa dresses are ridiculous!  If you can find them they are expensive.  The Disney Store version goes for over $100 on eBay.  So I decided to get crafty.

I managed to find this two piece Jessica McClintock wedding dress at the Salvation Army Thrift Store for $12!!  What a steal!
(Not sure why DD had to make that face) 
You can see it is far too big and shows her belly, but I modified it. 

First I painted the polyester with Tulip soft Fabric Paint in Turquoise (from Michael's).  It painted over the polyester nicely. 


I added various snowflakes to the skirt and more sequins to the top of the dress.  The snowflakes were metal charms I found on eBay and the sequins were from Dollarama.  I sewed the snowflakes on and used my Aleene's Jewel It Embellishing Glue for the sequins. 


I needed to make the top a lot smaller in width, but because I did not want DD's belly to show, I did not have to alter the length at all. Since it was a corset style tie back, I just took out the tie and added Velcro to wrap it snugly around DD's body. To make the straps I used scraps from the cape, made strips and sewed them on.

To make the skirt narrow enough to fit DD It just took the existing darts and made them an inch deeper. (If I were to do this again I think I would cut the skirt down one of the seams and just take the entire seam in. I did this on a future project which I will post soon and it worked much better).  I also hemmed the skirt to fit her. 

To hide DD's belly I added Velcro to the top and the skirt so they would stay "close together". If this was more than a costume I would have done something more permanent, but knowing she would not be wearing this often I knew Velcro would work.


I found some fabulous organza that had silver snowflakes on it at the local craft store - and I lucked out because it was damaged!  It had a red stain on it that ran through the entire bolt.  However since I planned on cutting it anyways, I know I could work around it.  I bought 2 meters for about $10. 

I cut a large half circle out using a pretty intricate tool - a pencil on a string! It worked perfectly. 

After hemming the edge, I sewed snaps to the cape and the back of the dress.  This allowed us to remove the cape for washing. Finally, we used two white Rainbow Loom bands and sewed them to the cape (an arms length down from the center). This allowed DD to hook the cape on her fingers like Elsa.

The final product....

One more touch was the braid. I knew we were going to Disney in May and that it would be hot.  So I did not want DD to be wearing a scratchy wig all day. Instead I bought an inexpensive wig on eBay and modified it.  I cut it apart and hot glued it to a barrette.  I added some blue and white ribbon and some snowflakes I found on eBay to finish it.  When it came time to wear it we tied DD's hair in a side bun and hid the bun with the braid. 

Here she is with Anna and Elsa striking a pose:

And just the girls...


~Happy Crafting~
Amy

Wednesday, September 3, 2014

Disney Cruise Memory Box

As part of my application to become part of the Prairie Paper Haven design team, I made a project using products from Jodie's store.
I chose to make a Disney Cruise Memory Box.

Supplies include chipboard from my stash, Scotch Cover Up Roll Packing Adhesive, the Ahoy There Carta Bella Collection purchased from Prairie Paper Haven, Navy Cardstock from my stash, Anchor and Starfish charm from Fabscraps and Red/White/Blue twine from Maya Road.  I also used my Xyron 510 Creative Station Machine and my Scotch Advanced Tap Glider (also purchased from Prairie Paper Haven) for additional adhesive.
The Disney Ribbon was a custom purchase from Ebay and the Disney Cruise Logos were cut from coasters I saved on our last cruise, and the inside lid logo is from a promotional flyer we received on a recent cruise.
The box measures 8 1/2 " x 6 1/2 " and stands just over 3" high.

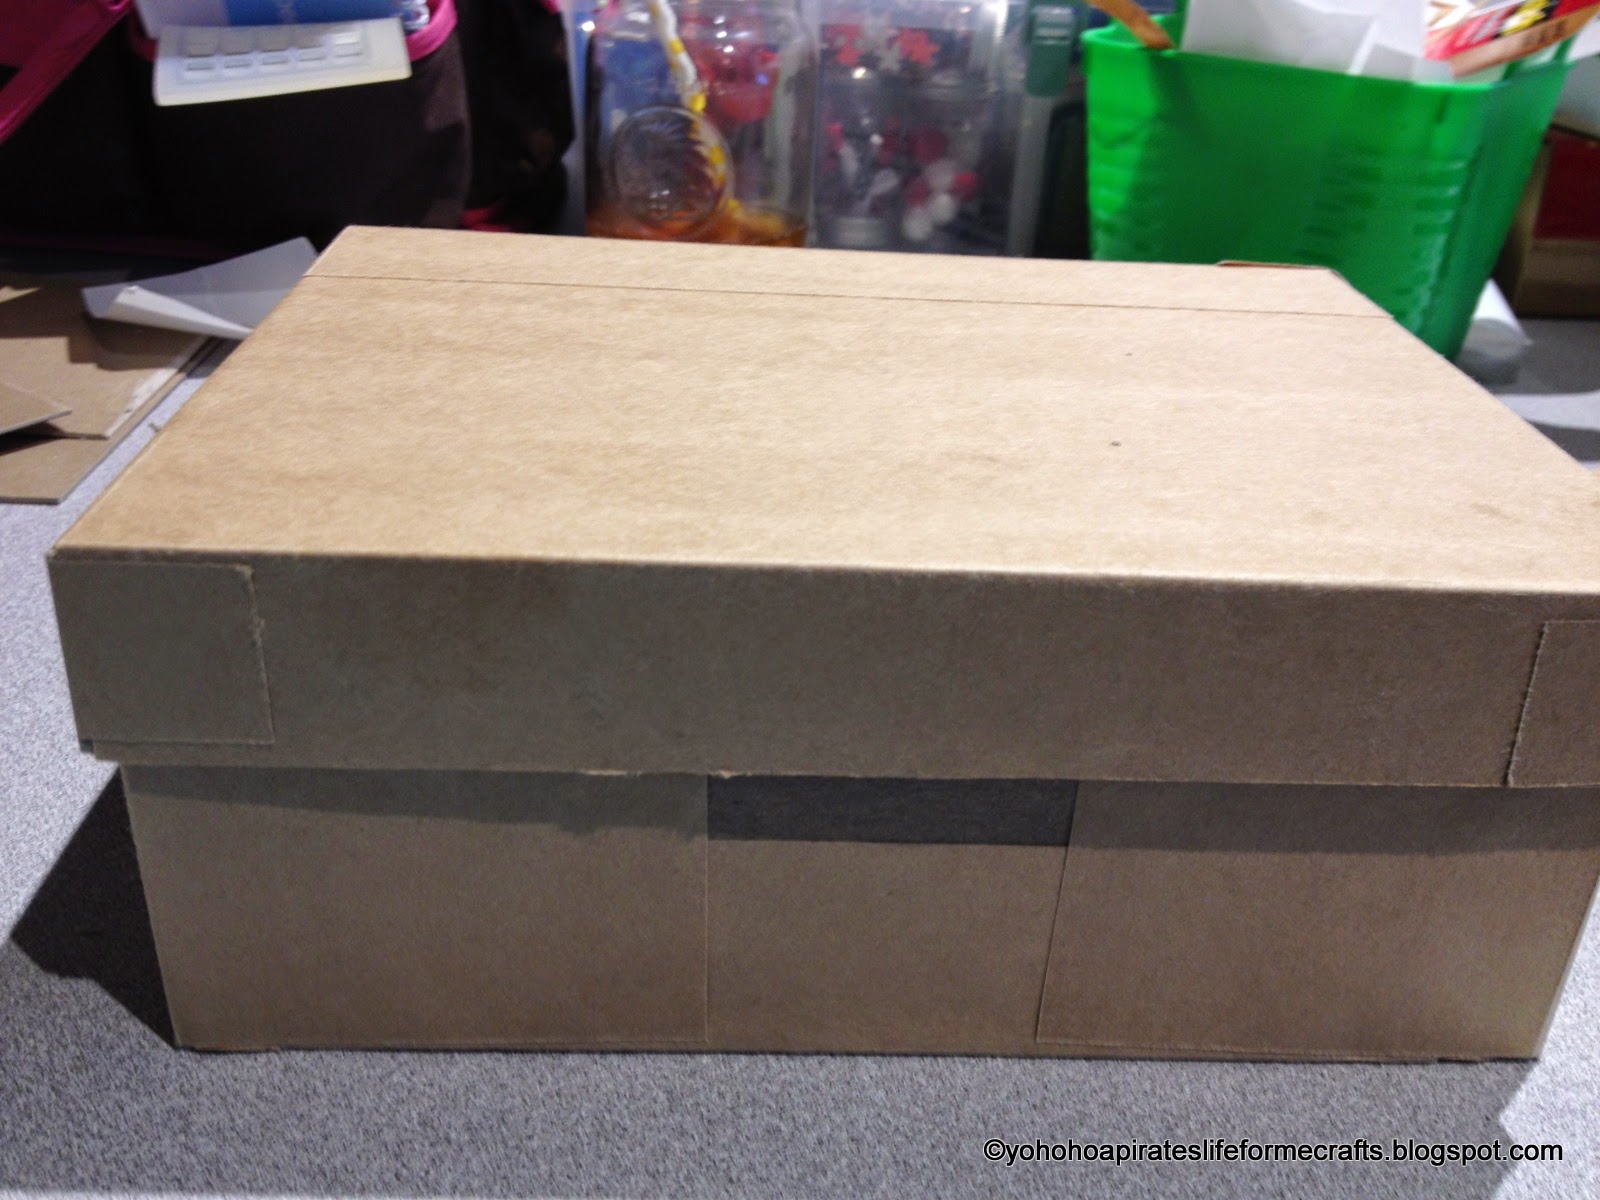
I knew the size I wanted the box to be and cut the chipboard base.


I used Scotch Cover-Up Roll as my main adhesive assemble the box.  I LOVE this stuff!!  I found it at Dollarama and it is fantastic for projects.


Once assembled I cut navy paper to cover the exterior.  I cut the paper 1 inch wider than needed and scored 1/2 each on each side to allow for full coverage and overlap over edges.   Using my Xyron and my Scotch ATG adhesive I covered the exterior in navy.


When going around corners, I cut small slits to allow the paper to overlap around the corners.


For the sides, I cut the corners away altogether, and folded the scored edge over the bottom of the box.


Once the exterior was complete, I continued doing the interior however I chose patterned paper from the Carta Bella Ahoy There line. I finished the top off with some Maya Road twine and some charms from Fabscaps. The ribbon wrapped around the lid is custom from EBay and the Disney Cruise line logo is from a coaster we got on our last cruise. All the embellishments are adhered using my Scotch ATG adhesive.


The inside lid photo is from a brochure we received while on our last cruise. 


The charms are my favorite! The anchors on the paper and charms make me think of cruising every time I see them. 

In less than 6 months we are headed on another Disney Cruise!  I have lots of Disney crafts I plan to make between now and then. But don't worry, although this blog will have a lot of Disney crafts, you will also see a lot of other crafts, including kids crafts.

Happy Crafting!
~Amy~