Friday, December 19, 2014

Challenge Time with Prairie Paper Haven - Cozy Christmas Treats

Hello & Merry Christmas!!

It has been busy with the bustle of the season around our house so this post is later in the month than I had planned.  I will be posting again this month....but now it has to wait until after gifts have been opened at Christmas.

Jodie at Prairie Paper Haven sent me an amazing package this month full of Simple Stories Cozy Christmas goodies!  You can see the collection HERE.  I love Simple Stories and this collection is no different!!

As soon as I saw this collection I knew exactly what I was going to use it for!  I had been inspired, or PIN-spired, by this pin on Pinterest. Cute little goodie bags. And, with Christmas coming, I knew Faith would want to share goodies with her friends at school.


The directions can be found HERE.  It was fairly simple, although it made me wish I had a scoring board.

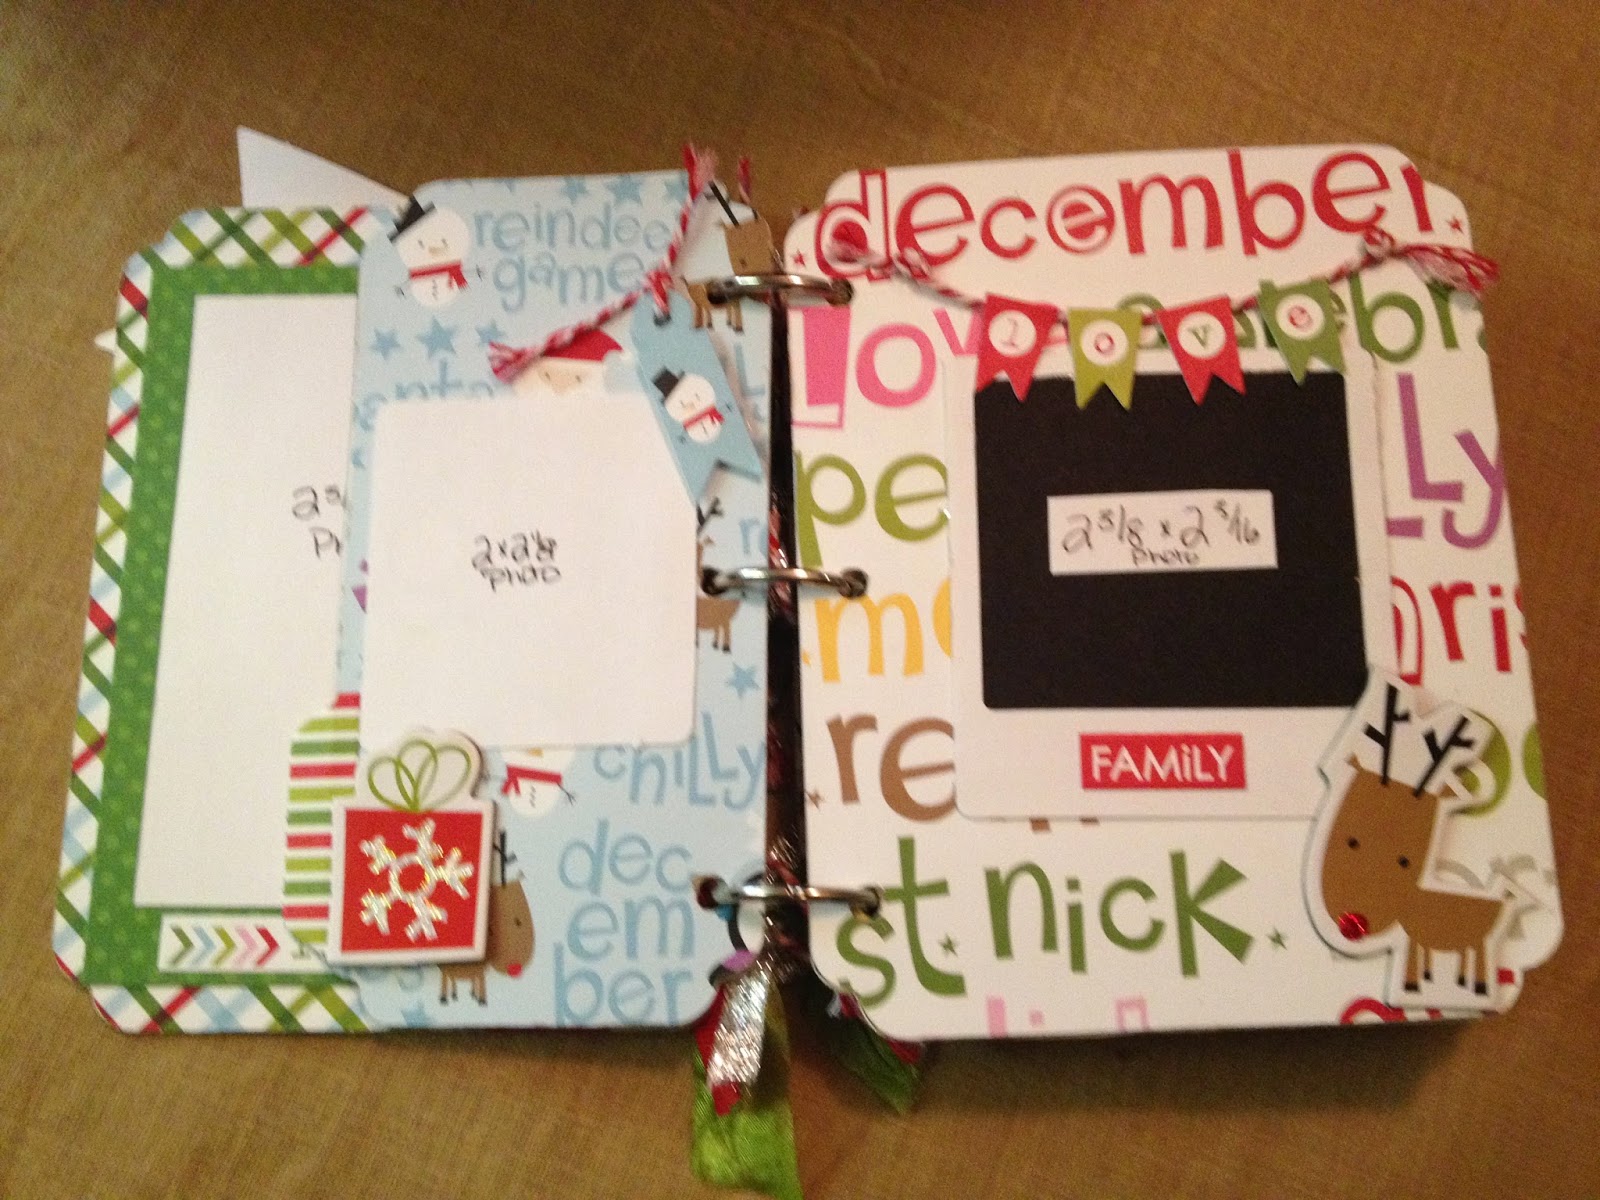
After making the boxes we used the Simple Stories Cozy Christmas Insta-squares and the Simple Stories Cozy Christmas Elements Cardstock as decoration on the front of the little bags.  We tied hand written tags to them using some Maya Road red and white twine from my stash. Super simple.  (I love the detail of the sample, but knowing these were going to be in the hands of 10 year olds, the ribbon handles and lacy decor may not have been as appreciated as it would be time consuming).

Here is our finished results:


Here is a sample using the Elements:


Here a sample using the Insta-Squares:

And, a side view to show that a Tim Horton's gift card fit perfectly inside:

Each kid got a few treats and the teachers received a Tim Horton's Gift Card. 

Faith loved helping me and over all the 27 bags took about 2 hours to make (the scoring took the longest).

Thank you to Jodie for a fantastic package!!

And, finally, from my family to yours, Merry Christmas!  May all your wishes come true this holiday season!

Thank you & Happy Crafting!

~Amy~


Wednesday, December 3, 2014

Christmas Card Blog Hop

Guess what - LIFE IS BUSY!!  So much has happened the last few weeks and all the activities we have had going on, I fell behind and completely lost track of the time. Suddenly it was Blog Hop day and I did not have a card.  So this was a quick card.  At first I was disappointed to share it, but then I realized - life happens to everyone and sometimes we need to whip a card up in a hurry.  So I am going to share it.

I used scraps from all the goodies from Jodie at Prairie Paper Haven and her November Goodie Box.  To see the first project with the Bella Blvd Christmas Cheer Collection click HERE.


Now it is time to Hop Along to the other blogs!

Stop 1 - Jodie at Prairie Paper Haven's Blog
Stop 2 - Cayla at Cayla's Crafty Corner
Stop 3 - Carlye at Crafty Carlye
Stop 4 - Me at Yo Ho Ho A Pirate's Life Crafts

Happy Crafting and feel free to join us for our Next Blog Hop in December.  Message me at apirateslifecrafts@outlook.com for details.


Tuesday, November 18, 2014

Challenge Time with Prairie Paper Haven - Christmas Mini Album

I got an amazing package of Christmas Goodies from Jodie a Prairie Paper Haven and took the opportunity to make a mini album for an upcoming gift exchange.

The Goodies were all part of the Bella Blvd Christmas Cheer collection.  This is an adorable collection full of fun and cute Christmas paper and embellishments.

I used this opportunity to FINALLY use my Cricut Artbooking Cartridge for an actual book.  I have cut embellishments from it but never made one of the books. 
This is one of the Close To My Heart Exclusive Cartridges and I really do like it.  You can see all of the handbook HERE.

I cut 13 of page 56 SHIFT PHOTO MAT 1 (large pages) and 12 of page 57 SHIFT PHOTO MAT 2 (small pages)  out of cardboard to give the album some stability.  I used some boxes from work that were similar to cereal box depth.  My deep cut blade cut them well, but I did have to clean some cardboard shavings out of it. 


I then cut 26 large pages and 24 small pages out of the fantastic patterned paper.  Since these pages were for the front and back of the cardboard pages, I was careful with the patterns so I was sure that I would not end up with inverted patterns.  (Some patterns I cut "backwards" knowing they were going on the back side of a page).  I set the cut of the book 5.75 inches which allowed me to get 2 large pages and 2 small pages out of each 12 x 12 sheet with leftovers for mattes and embellishments. 


I do have to say that the holes for the binding rings were very small and I did have to punch them again with my Crop-A-Dile. 

After cutting all the pages I ran them through my Xyron and began mounting them on the cardboard pages.

Finally it was my favorite time - embellishing!

I made mini Polaroids using the Artbooking cartridge again (page 41 SHIFT BORDER) and backed them some black cardstock.


I used a little Stickles or a little Glossy Accents on every page.  I added various red and green ribbon from my stash along with some Maya Road red twine on the binding rings. All of the embellishments are part of the Bella Blvd Christmas Cheer line and include the Trinket Stickers and the Cardstock Die Cuts. All of the red, white, black and green dot cardstock was from my stash. 

Here is the end result:


I easily have enough supplies left over for another book, so one collection can do two books.  I really hope you check out this adorable collection in Jodie's Store.

~Happy Crafting~

Wednesday, November 12, 2014

How to do a Blog Hop.

Prairie Paper Haven and I have been teaming up to run blog hops and we have had a lot of interest.  This is a great opportunity to share your work with others and to get some exposure for your blog. We have had a lot of questions on how to do a blog hop so I thought I would take this opportunity to give a few tips.

What is a Blog Hop?

  • A Blog Hop allows you to connect with other Bloggers by linking your Blogs together.  Most often this is done with a common theme (for November 2014 our theme is Christmas Cards). We set up the "hop" like a train.  You start at one blog, link to the next, and so on and so on. 
What do I do?

  • Our Blog Hops have a theme and a due date.  All you have to do is make your item and post it on your blog by the due date. Once it is posted, send me the link to your live blog at apirateslifecrafts@outlook.com as soon as possible.  
  • Once I have everyone's links, or the due date has passed, I will send a copy of the links to everyone involved along with the order of the train.  You are encouraged to link to the next blog and also provide links to all blogs on the Hop to ensure everyone gets exposure. 
  • As soon as you get this information please update your blog with the links to the train. This is important and should be done within 24 hours.  There is nothing more frustrating than linking from blog to blog, promoting it and realizing someone has not done their part. 
  • I strongly encourage you to wait until all links are up on all pages before promoting it (hence the 24 hour rule).  If your links are not active within 24 hours we will have to skip you.  So please be sure you can watch your email and update your blog.  It only takes a few seconds. 
Visit HERE to see our October 2014 Blog Hop.

Here are our upcoming Themes and Due Dates (generally it will be the last Sunday of the month):
  • Due November 30 - Christmas Cards
  • Due December 29 - Christmas Layout - any layout or pocket layout
  • Due January 26 - Winter Sketch Challenge (see below for sketch), sketch found HERE on the Basic Grey Website. Please ensure you provide link to the Basic Grey website when posting this project (just to be safe).  Any Winter or Christmas themed layout. 

I would love suggestions for other themes and welcome new joiners anytime!


Monday, November 10, 2014

Challenge Time with Prairie Paper Haven - More Spooktacular Halloween Crafting


When Jodie from Prairie Paper Haven sends me a package, my goal is to do at least two project with the goodies.  This is the second project that I completed using the Simple Stories Frankie & Friends Collection Kit that Jodie sent me in October.  (You can see the first project and a photo of the goodies HERE.)

I decided to use a mini album from my stash that I had ordered years ago from Laser Lady.  She has some unique mini albums and also does custom orders.


 After some fussy cutting and a lot of glue, here is the finished project.


The cover is Orange Cardstock form my stash with the title written in the Frankie and Friends Cardstock Letter stickers.  The Mickey is from my stash from an EK Success Sticker set. The orange ribbon is from my stash, however the beautiful sheer purple, green and black are all from Prairie Paper Haven.  I love these sheer ribbons, the photos do not show the sheen they have.  To add a finish, I Stickled inside the pumpkin face with black Stickles. 


For this page I took on of the 4 x 6 cards and sliced it into 2 so I had a top border and a bottom border to the row of photos. The dot stickers and the brad are from the Frankie & Friends Collection.  The "Happy Halloween" ribbon is from my stash. 


A very simple page.  Hard to tell from the photo, but the Spooktacular photo is raised using foam squares.  The "Boo" was cut out from the Frankie & Friends Double Sided Elements Cardstock and is also raised with foam squares. 


I LOVE this page.  I actually cut the paper with part of the border showing just so I could get both pumpkins in there.  I used the paper as my embellishment and my journaling, by adding Stickles to one pumpkin and writing directly on the background.  This collection allows for some great use of the papers saving on the extra embellishments. 


The paper is perfect for the Haunted Mansion photos!  The gravestones are from the EK Success stickers that had the scared Mickey from the cover page. I wanted to use some of the colors in the eyeballs for my mattes and was unable to find the perfect Cardstock.  So, I used some of the 3 x 4 cards instead.


I hid any image overages with embellishments and love that the purple and green match the eyes perfectly. 


Another simple page.  The "Photobombed" photo is raised using foam dots.  The brad/ribbon is part of the Frankie & Friends Decorative Brads


I LOVED the paper on the background of this one, so I tried to select something simple to put on the page so you could see all the Halloween Words. 


Another example where I let the paper be the embellishment by adding Stickles to the banner on the"Let's Party" quote bubble. 


Parades are so hard to scrap as there are always so many photos.  I find it very difficult to select my favorites, especially for such a small page. 


Again, Stickles was used to highlight the orange dots on this page. Minnie was part of an EK Success sticker collection. 


How perfect that there was a dark orange (almost red) dot paper in this collection for our photos with Mickey! The perfect last page to the album. 

I have already received and starting using my November package and cannot wait to share photos of the beautiful collection Jodie shared with me this month! 

~Happy Crafting~


Sunday, October 26, 2014

Spooktacular Halloween Blog Hop!!

I got another fantastic package of goodies from Jodie at Prairie Paper Haven for the month of October and I thought what a great opportunity to do a Halloween Blog Hop!  So, along with Jodie and three other fantastic scrappers - Cayla, Tracy and Carlye, we have a fantastic little hop for you. 

This months goodies were all part of the Simple Stories Frankie and Friends line.  I love this line and as always, Simple Stories does not disappoint. 


Since we were decorating for Halloween we decided to make a simple wreath for my daughter's door.  This is a design I have done before, and learned from Beth Kingston of Xyron at Crop and Create in 2012. I love this simple decor wreath and it is easy for kids to assist with. 


First, I cut several one inch strips of 12 x 12 paper and and ran them through the Xyron.  You could use any adhesive. 


I had a leftover styrofoam wreath from Beth's class so I used it.  I have also used very inexpensive weather-stripping tubing from the hardware store with kids classes.  This makes it very inexpensive as with tubing is several feet for about $5.00.  I taped the tubing into a circle using duct tape and proceeded the same as below.  


Start wrapping the strips around the wreath or circle form you are using. 


When you are finished it will look like this. 


I then snipped a banner into each piece.  I added ribbon to hang and embellished it with several of the Frankie and Friends cardstock stickers.


Faith now has a wreath for her door. 

Later this week I will post another project with this fantastic paper!  I love this line!

So here is the rest of the Blog Hop.  I would love it if you stopped by to see their fantastic creations! Please leave a comment if you like what you see. 


Stop 5 - Amy - A Pirate's Life Crafts (that's me!)

Thanks again for checking out the blog hop!  I hope we can do a Christmas one next.